How to Waterproof a Bathroom: 7 Steps Before Tiling to Prevent Leaks
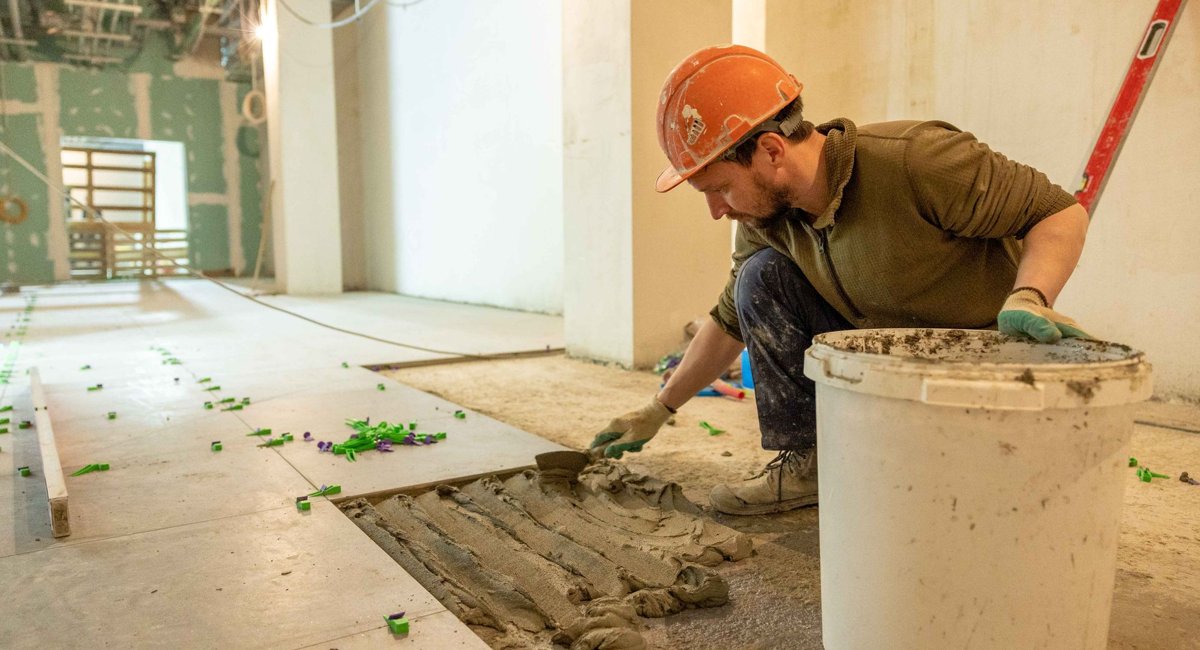
Leaks through a ceiling often start in the bathroom above. Here is how to waterproof a bathroom in 7 steps before the tiles go down.
Leaks from bathrooms are one of the most common complaints in homes, especially multi-storey houses. Water escaping through a bathroom floor can stain and grow mould on the ceiling below, make walls damp and even become a hazard if drips reach electrical fittings.
Why tiles alone are not enough
Many people assume a tiled floor with tight grout is watertight. According to Sika Indonesia's guide, tiles and grout are not designed as waterproof layers. A waterproofing layer is therefore needed between the concrete surface and the tiles.
Application steps
1. Remove old tiles if needed. Waterproofing goes on before tiling, so in a renovation the old tiles must come off first.
2. Clean the surface. Floors and walls must be free of dust, oil and loose material so the coating bonds properly.
3. Choose a wet-area product. Use a waterproofing product intended for wet and submerged areas, with good elasticity so it does not crack with small structural movements.
4. First coat. Apply it on the concrete floor and up the walls at least 20 cm from the floor. In shower areas many applicators take it higher.
5. Reinforce corners. Floor-to-wall corners are weak points. Embed a reinforcing mesh or fabric between the first and second coats while the first coat is half dry.
6. Flood test. Once dry, plug the drain and flood the floor for at least 48 hours. If any seepage appears, repair it and add another coat.
7. Tile. Once it passes the test, floor and wall tiles can be laid.
Key tips
For two-component products, mix parts A and B in the ratio the manufacturer specifies. When tiling, do not puncture or damage the waterproofing layer. Pay attention to details around pipes and the floor drain, because these penetrations are where leaks most often occur.
Waterproofing costs little compared with tearing out tiles and repairing ceilings after a leak later on.
Buying materials with homeX
homeX, a one-stop building materials and furniture service platform in Indonesia, offers a showroom where you can see products in person, warehousing with tracked stock and delivery from Tangerang. Our team can help you choose materials that suit your project.
FAQ
How high should waterproofing go up bathroom walls? At least 20 cm from the floor, higher in shower areas; reinforce floor-to-wall corners with mesh between the first and second coats.
How long should the flood test last? Once dry, plug the drain and flood the floor for at least 48 hours; if seepage appears, repair it and add another coat.
How to waterproof a bathroom: related articles and products
Related articles:
- Concrete Roof and Bathroom Waterproofing: Material Types and Application Steps
- How to Choose Floor Tiles: PEI Rating, Water Absorption and SNI ISO 13006
- PVC Pipe for Homes: AW vs D Class, SNI 06-0084-2002, Jointing and Pressure Testing
Related building materials at homeX:
Source: Sika Indonesia – Cara Aplikasi Waterproofing Kamar Mandi